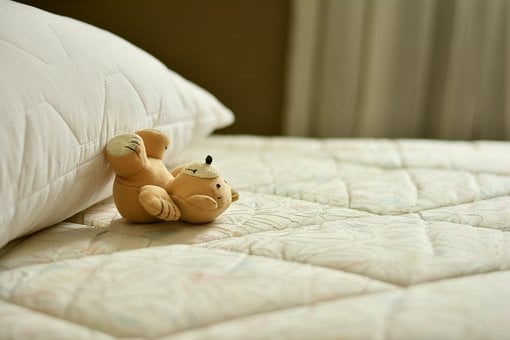
It’s a fact that you spend about one third of your life on your mattress, so it’s definitely something you should consider cleaning every once in a while!
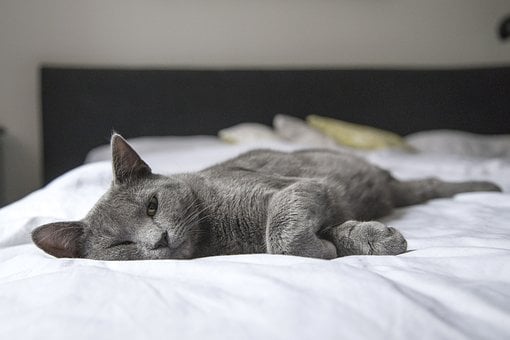
Our mattresses are on the receiving end of a lot of germs and grossness, from dead skin cells and dust mites, to stains and bodily fluids…your mattress could be harbouring all sorts of harmful bacteria. Knowing how to clean your mattress is extremely important and knowing your mattress is squeaky clean will certainly help you sleep better at night.
So, to discover our top mattress cleaning tips, read on.
Step 1: Prepare Your Mattress
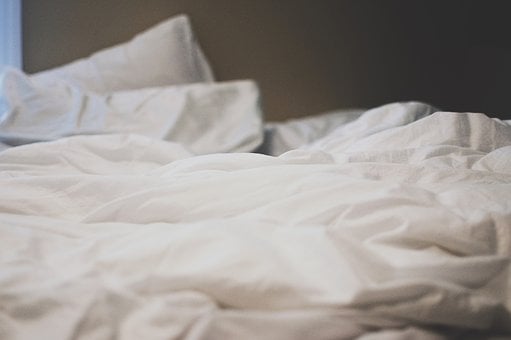 Before rigorous mattress cleaning begins, it is important to prepare your mattress. Begin by stripping the bed and washing all pillow cases, bed sheets, duvets and throw blankets. Cleaning your bed linen is something that should be done once a week on a high temperature to kill all those nasty germs you bring home after a day out and about.
And while the washing machine is doing its thing, you can turn your attention to cleaning your mattress.
Step 2: Vacuum Your Mattress Thoroughly
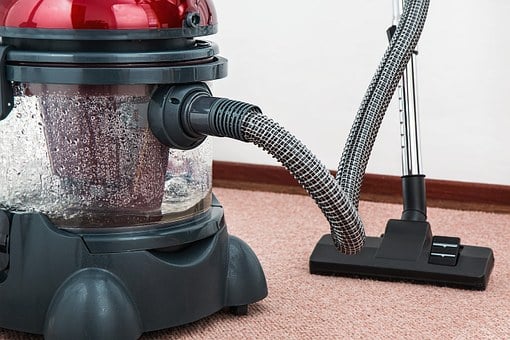 Begin by vacuuming your mattress. Hoovering helps get rid of those lingering crumbs and dust mites, along with any pet hair that has accumulated over time. Many vacuum cleaners have an upholstery attachment that is ideal for mattress cleaner.
When hoovering your mattress, always start at the top and move your way down. For an extremely thorough hoover, I would recommend hoovering your mattress horizontally and then going over the top in vertical lines to ensure your entire mattress is properly cleaned. (Don’t worry about the other side of the mattress just yet, simply focus on one side and the mattress edges to begin with.
Step 3: Cleaning Mattress Stains
 How you clean the stains on your mattress, and the cleaning products you use, will depend on the type of stain you are dealing with. Stains that have been allowed to sit on your mattress for a long time will be tougher to use, as they would have bonded with the fabric. Thankfully, we have all the stain removal advice you need to keep your mattress stain-free and looking as good as new.
Begin by Spot Cleaning Stains
If you’ve never cleaned your mattress before, it is likely there will be a few stains that are visible to the naked eye. These stains can be easily treated with a spot clean. Simply combine 2 tablespoons of hydrogen peroxide and 1 tablespoon of liquid dish soap. Stir together in a bowl and you will create soap suds that are perfect for lifting stains. Use an old toothbrush to apply the solution to the mattress. With a damp cloth, wipe away the excess and you should see the stains disappear.
Use Enzyme Cleaner for Tougher Stains
For biological stains (stains caused by bodily fluids), enzyme cleaner is ideal. Simply spray enzyme cleaner onto a clean cloth and blot all your mattress stains, allowing the solution to saturate your mattress. Once the solution has been applied to all stains, let it sit for 15 minutes and work its magic. Then, blot the area with the same cloth to help lift the stain.
Top Tip: Don’t spray cleaning solutions directly onto your mattress as this can be harmful to the material.
Step 4: Deodorize Your Mattress with Baking Soda
 Baking soda is the best product to deodorize your mattress and it is found in most kitchen cupboards, making it extra handy! Although we don’t tend to notice our bodily smells, or those of our pets, after a long time these odours can build up and lead to an unmistakable aroma.
To get rid of these smells, sprinkle your mattress generously with baking soda and gently rub it in with a scrubbing brush to help it penetrate the mattress fabric. Leave the baking soda to sit on your mattress for at least a couple of hours. The baking soda will not only absorb odours, but it will also absorb any excess liquids from the stain removal process.
Once it has been left to work for a few hours, hoover the excess baking soda off and discover a mattress that smells fresh and clean!
Step 5: Flip the Mattress and Repeat the Above Steps
Once you have completed the above steps, it is time to flip your mattress over and clean the other side. Your mattress will thank you for it and you will certainly sleep soundly knowing you’re no longer sleeping in your own filth.
Step 6: Air it Out
Once both sides of your mattress have been thoroughly cleaned, I would highly recommend airing your mattress out. If possible, somewhere fresh air and UV sunlight are readily available. However, if you live in the city and moving your mattress outside is impossible, simply open your windows and air out your bedroom.
Bonus Tip: Cover and Protect
 To help with your cleaning routine, get yourself a mattress cover. If you don’t have a mattress cover, you are seriously missing up and now is definitely a good time to pick one up. Mattress covers help protect your mattress from stains and dirt, and they can be easily washed in the washing machine on a regular basis.
Share this Article with Your Friends
Have you found these mattress cleaning tips helpful? Comment below and let us know your thoughts or share this article with your friends. At Why Bother Cleaning, think everyone should know about the importance of cleaning their mattresses because it’s something most people neglect!
Call us Today
If you would like to know more cleaning tips, check out our blog. Alternatively, call us today. We would be more than happy to answer any questions you may have and share our cleaning advice with you.