
Maintaing a clean and tidy home (most of the time) is one thing, but remembering to clean those common household items as – and knowing how to do so – is another challenge all together! On the Why Bother Cleaning blog we often share cleaning tips to help you manage your home and keep on top of those daily chores. But in this article we thought we’d do something a little bit different; we thought we’d advise you on how to clean those common household items!
How to Clean a Dishwasher
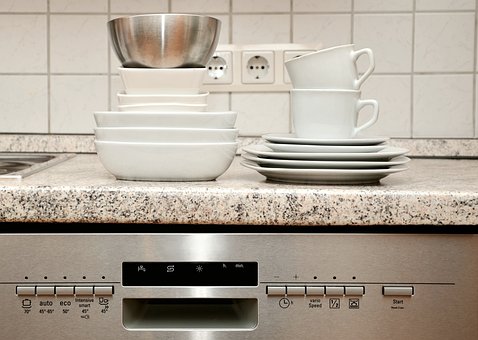
Our dishwashers do a fantastic job at cleaning our dishes and saving on those post-dinner arguments about who will do the washing up! However, when it comes to cleaning they are often an overlooked household item. After all, they do the majority of the cleaning so why would we need to clean them?
Well, your dishwasher gets full of dirty water, grime, and food debris on a daily basis, and this can cause havoc inside the machine – including bad odours and blocked drains. To prevent your dishwasher from packing it in and to help prolong its life, here’s how to clean your dishwasher in 3 easy steps!
Step 1: Examine the State of the Drain
The drain area of your dishwasher is where hard chunks of food and flaked pieces of ceramic from your dishes can become logged. This can plug the drain and cause damage through scratching or blockages. You will be surprised just how much stuff collects in your dishwasher drain! Don’t believe us? Have a look for yourself…you may even find small pieces of gravel (odd but surprisingly common!)
Step 2: Start a Wash Cycle with Vinegar
Vinegar is often hailed as the all-natural-cleaning-product that works wonders and it’s easy to see why – it has so many uses! And one of the best uses for vinegar is in your dishwasher’s wash cycle! The vinegar will wash away any grease and grime, in addition to removing odours and sanitising your machine so that it can wash your dishes more effectively. It really is as simple as running the wash cycle with half a cup of vinegar. Give it a go, it will work wonders!
Step 3: Follow with Baking Soda
After you’ve run a wash cycle with vinegar, it’s best to follow it with a handful of baking soda sprinked around the bottom of the dishwasher – running it on the short but hottest cycle possible. Baking soda is a fantastic cleaning product as it helps to deodorise your dishwasher, leaving it smelling fresh, clean, and looking brand new! What’s more, baking soda is a fantastic product for removing any of those stubborn stains left behind after washing the dishes.
How to Clean a Washing Machine
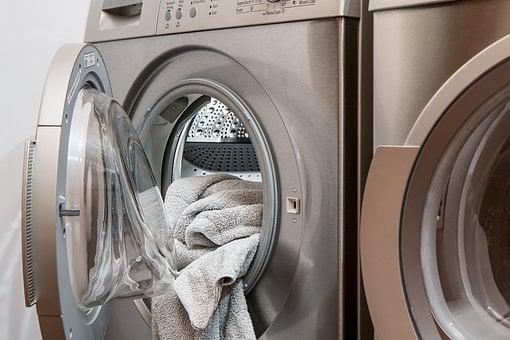
Cleaning your washing machine may not be the most glamorous of jobs, and it’s likely something you rarely think about – if at all! But giving your washing machine a thorough clean-out every so often is extremely beneficial and helps your clothes turn out cleaner than ever before. The whole process doesn’t take much time at all and you can even fit it in alongside your other cleaning chores. So, here’s our quick guide on how to clean your washing machine:
Step 1: Follow the Manual Insutructions
Before proceeding, it is integral you consult your machine’s manual instructions as some manufacturers discourage the use of certain products in their machines. And if you use the wrong products, you could invalidate your machine’s warranty and that’s never a good thing! So, it’s always good to double check.
Step 2: Remove the Detergent Drawer
For front-loading machines, the first step is always to remove the detergent drawer. This is often the space where the most dirt and grime builds-up. Remove the drawer completely and soak it thoroughly in hot water, using a clean toothbrush to scrub away any residue or mould. Once well-cleaned, rinse the drawer thoroughly and allow it to dry naturally before replacing it.
Step 3: Add a Cup of Vinegar to the Drum
Again, a cup of white vinegar comes to the rescue. The vinegar will help to sanitise your machine and, once again, remove any odours that may be present and causing havoc with the effective washing of your clothes. Put your machine on a normal wash cycle and let the vinegar get to work. Once the wash cycle has finished, open the door and let the inside of the drum air-dry. If any bad odours or strange residues still remain once full dry, repeat the process until your machine is just like new.
Step 4: Wipe the Rubber Seals
The final step is to take a damp cloth and wipe around the inside of the machine, ensuring you thoroughly clean the rubber seals of your washing machine. Often dirt and mould can build-up in the rubber seals, so it’s important to give them a thorough wipe-over once in a while to lift off anything that isn’t supposed to be there. To finish, wipe the surfaces of your machine, replace the dried detergent drawer and there you have it – a fresh smelling and clean washing machine!
How to Clean a Car Seat

There’s no doubt about it, kids are messy and their car seats often put up with a lot! When your little one eats in the car, spills water or milk, or (every parents nightmare) has a blow-out diaper…you’ll want to thoroughly clean their car seat! This can be a time-consuming job, but it is worth it in the long-run. Here’s our advice on how to effectively clean a child’s car seat.
Step 1: Remove the Car Seat
The first step is to remove the car seat, untie the staps, and uninstall the seat completely from the car. This will allow you the opportunity to wash the seat thoroughly wihtout having to climb in and out of the car. It’s a simple step but a significant time-saver!
Step 2: Wipe Away Messes
The best thing to do first is take a baby wipe or a damp cloth and wipe away any visible messes. This can be as simple as removing bread crumbs or scooping away any sticky, loose, chunky debris. Let’s be honest, kids pick up a lot of unusual things and clearing anything loose away will make the job of cleaning the car seat a lot easier.
Step 3: Vacuum the Car Seat
Once you have wiped away any surface mess, it is best to thoroughly vacuum the car seat’s surface. This will remove any excess crumbs and loose debris you may have missed. If you have a vacuum cleaner with a small attachment, this can be helpful to remove debris from spaces where it has become stuck in small corners.
Step 4: Remove the Cover and Wash It
Most infant car seats have removable covers for exactly this purpose – to wash them! If you have your manual handy, be sure to consult it before removing the cover so that you know how to put it all back together again. Once you’ve removed the cover, spot clean any obvious stains using a mild detergent and a damp cloth and then place the entire cover into the washing machine on a gentle cycle.
For safety resons, the straps should be cleaned separately by washing gently in a soapy bucket of water and allowing to air-dry.
Step 5: Clean the Plastic Base
The final step of a simple carseat clean is to wipe the plastic base using a damp cloth and a mild detergent and water. Rub away any stains, grime, and dirt, then rinse thoroughly under running water. Finish by spraying the plastic base with a disinfectant to rid any of those remaining germs and bacteria. And there you have it, a clean and hygeinic infant car seat (for a little while at least).
We hope the above tips have been helpful and a good reminder to clean those common household items that can so easily be overlooked!